Filming in low light can be a challenging task for even the most seasoned videographers. However, with the right techniques and tools, you can capture high-quality footage even in dim environments. Whether you’re shooting a night scene, an indoor event, or a creative project with limited lighting, these five tips will help you achieve the best results.
1. Use Fast Lenses
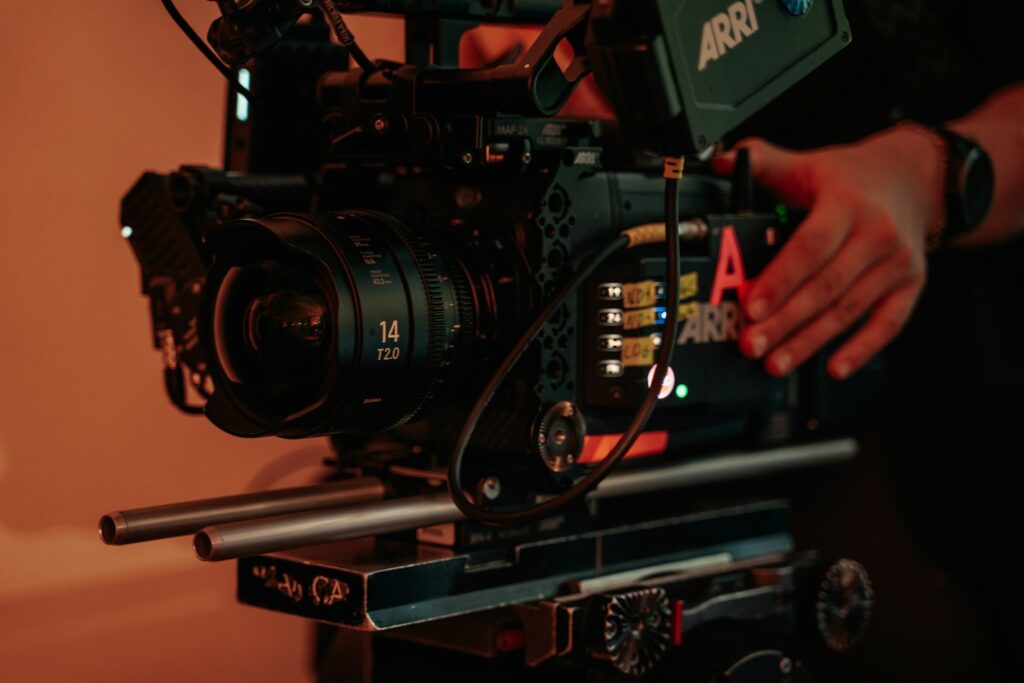
Using fast lenses with larger apertures is crucial for improving low light footage, as they allow more light to reach the camera sensor. This enables brighter images without significantly increasing ISO, which can cause noise. Opt for lenses with apertures of f/2.8 or lower, like f/1.8 or f/1.4. Prime lenses, with their fixed focal length, generally offer wider apertures and better low light performance than zoom lenses.
2. Increase ISO Sensitivity
Increasing the ISO sensitivity of your camera is another way to brighten your footage in low light. ISO measures the camera sensor’s sensitivity to light; higher ISO settings make the sensor more sensitive, allowing you to capture more detail in dark environments. However, increasing ISO also increases the risk of noise, which can degrade image quality. To mitigate this, find a balance by gradually increasing the ISO while monitoring the noise levels.
3. Utilize External Lighting
Sometimes, the available light just isn’t enough, and adding external lighting can make a significant difference. Portable LED lights are a great option for low light filming. They are lightweight, easy to set up, and provide a consistent light source that you can control. When using external lights, consider using softboxes or diffusers to soften the light and reduce harsh shadows. You can also use reflectors to bounce light and fill in dark areas.
4. Slow Down Your Shutter Speed
Slowing down your shutter speed allows more light to hit the camera sensor, resulting in brighter images. However, this technique comes with a trade-off: motion blur. A slower shutter speed can cause moving subjects to appear blurred. To counteract this, use a tripod or stabilize your camera to minimize camera shake. A general rule of thumb is to use a shutter speed that is double the frame rate. For instance, if you’re shooting at 24 frames per second (fps), set your shutter speed to 1/48th of a second. In very low light situations, you may need to go even slower, but be mindful of the potential for motion blur.
5. Use Post-Processing Software
Post-processing can significantly enhance your low light footage. Software like Adobe Premiere Pro, Final Cut Pro, and DaVinci Resolve offer powerful tools for adjusting brightness, contrast, and color. Use these tools to fine-tune your footage, reducing noise and improving clarity. Additionally, consider using plugins specifically designed for noise reduction. While it’s always best to capture the highest quality footage in-camera, post-processing can help you salvage and enhance low light shots that might otherwise be unusable.
Capture the Night with Confidence
Filming in low light conditions doesn’t have to be daunting. By using fast lenses, adjusting your ISO sensitivity, incorporating external lighting, slowing down your shutter speed, and leveraging post-processing software, you can achieve impressive results even in the darkest environments. Remember, each scene is unique, so don’t be afraid to experiment with different settings and techniques to find what works best for you.